Posts

Advanced Cooling of the Technobit HEX16

Image
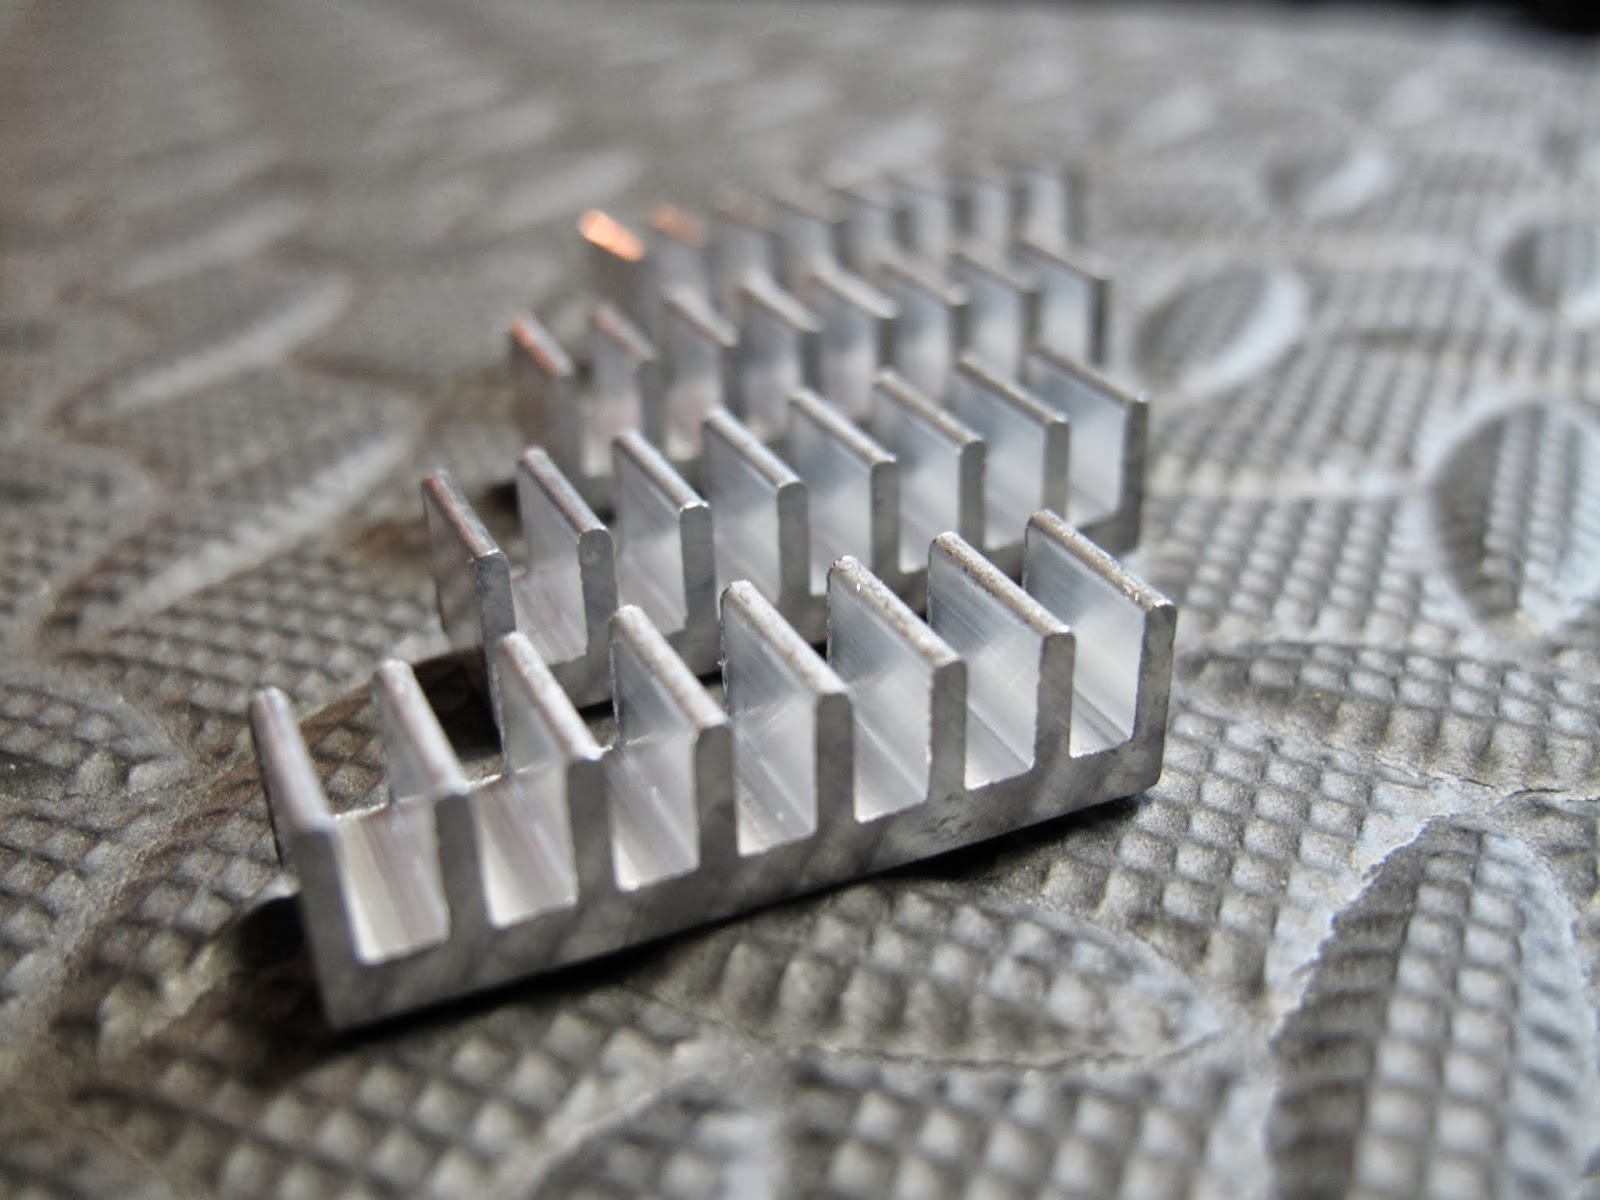
In anticipation of some advanced overclocking I have prepared some chip side heatsinks for the Technobit Hexminer 16.  Based on my experience with the ASICMiner Blade V2, I have found that adding additional heatsinks to the chip side of the ASICs can provide more efficiency with less share losses to hardware errors.  These heatsinks are attached with 3M thermal tape.  When these miners are stacked, the fan below this one will provide enough airflow to pull the extra heat off of these sinks.  The miner on the bottom of the stack (or a single) may require supplemental airflow to help cool these off.  Just tap into the fan power port. I have made them available here if you are interested in more efficient cooling or advanced overclocking Chip Side Heatsinks Applied Available Here

The Technobit HEX16a Bitcoin Miner

Image
Technobit HEX16a I have been tooling around with some other miners and the Technobit HEX16a piqued my interest.  It's a 20 - 24GH ASIC miner based on 55nm Avalon ASIC chips.  Rail voltage and clock speed can be easily controlled through command line to adjust clock speed anywhere from 15GH to 24GH at the touch of a button.  Some power consumption and performance statistics below. ~24W - 15.86GH/s - 1.51W/GH ~56W - 20.30GH/s - 2.76W/GH ~74W - 21.28GH/s - 3.47W/GH ~92W - 22.85GH/s - 4.03W/GH ~108W - 24.15GH/s - 4.47W/GH HOT Power Connector They are stack-able and are powered by a standard ATX power supply hard drive molex connector.  The entire top of the device is dedicated to cooling with a very large heat sink attached and a 92mm fan it seems to be a very well designed product.  Simple and efficient. Setup wasn't too bad.  I have a Xubuntu Linux machine dedicated to mining.  A few commands to set up cgminer and it was up and running.  The latest supp

How I Determine The Efficiency of a Particular Bitcoin Mining Rig

Image
There are plenty of ROI calculators that can speculate potential profit/loss of a particular mining rig, but how can you effectively pair up one miner against another to see which one is more cost effective right from the start?  I like to do a simple calculation that I like to call power factor rating.  Power factor rating measures up the three key points that are of interest when purchasing a mining rig. Cost (the cost of the mining rig including shipping) Hash Rate (measured in GH/sec) Power consumption (measured in watts) The formula I use for measuring a miners power factor rating goes like this... WATTS                          --------------------  = Power Factor COST / Hash Rate The higher the PF factor the more efficient the device is at making BTC $$   For instance, a 333MH Block Erupter at the time of this post might be selling for around $15 and consumes 2 watts of power.   The effective power factor of this device would be measured as 2 (watt

My Progression With Bitcoin Mining

Image
It was early December 2013 when I finally decided to start mining bitcoin.  I looked at usb miners and the like but finally settled on the ACICMiner Blade V2.  It has 32 BE100 ASIC mining chips in 8 rows of 4.  At that particular time it was quite an investment, but ROI calculators indicated that it could pay for it'self in about 90 days.  I set up a laptop running a fresh install of Xubuntu and and a copy of Python and Slush's stratum mining software. Enter Blade 1 Blade 1, My first Mining Blade December 2013 Off to a great start, the blade was up and running once I had the stratum proxy configured properly to mine at Eligius... If one blade is good, two would be better, right? Enter Blade 2 Blade 1 and 2 mining away in early December 2013 These two were just within limits of a 350W ATX power supply I had.  Each blade pulls 6A, so I was pulling 12A on a rail capable of 16A. Enter Blade Backplane An ASICMiner 10 Blade Backplane The Backplane populated with

Banking on Sunshine - My Personal Attempt to Reduce Environmental Impact of Bitcoin Mining

Image
I have read in several places that Bitcoin mining is a tremendous waste of energy.  I can agree that it does consume a great deal of energy, which is both costly to the miner and the environment. My personal attempt to reduce the impact of the 800 or so watts of energy my mining rig required to operate  was to attempt to reduce it's environmental footprint using solar power. 6 Overclocked ASICMining Blades Pulling Nearly 800W I had been storing about 300 Watts worth of amorphous solar collectors in my attic for about a year after we moved because of the tedious charge, discharge and inversion aspect of this low power solar setup as compared to larger, commercial installations.  Until I found that inexpensive, low power grid tie inverters existed.  Meet the low power solar inverter. A 300W Grid Tie Inverter So the plan is to directly connect the solar panels to the grid tie inverter and tie the circuit directly to the circuit that my Bitcoin miner is on.  Like the photo

Advanced cooling of an Overclocked ASICMining Blade

Image
A successful overclock will demand more current and produce more heat.  In the case of the ASICMiner Blade, the stock heatsinks can be somewhat unreliable as they are only attached in 6 places spaced fairly far apart.  Thermal conductivity with the ACICS can be marginal in the case of an overclock, but good enough for the stock 10.7GH.  If you are noticing that efficiency isn't reaching percentages in the high 90%'s you may need to add chip side heatsinks and cooling. Chip side heatsinks are an option to increase efficiency on an overclocked blade and can help tremendously increase mining efficiency. Aluminum Heatsink For ASIC Chip Side Cooling To add extra thermal mass and surface area to dissipate heat from the top of the ASICS, I use 16 of the above pictures heatsinks arranged carefully on the chips labled BE100.  There are 32 of them on the chip side of the board in 8 rows of 4 :). I use a special 3M thermal conductive adhesive applied to the heatsink and jus